
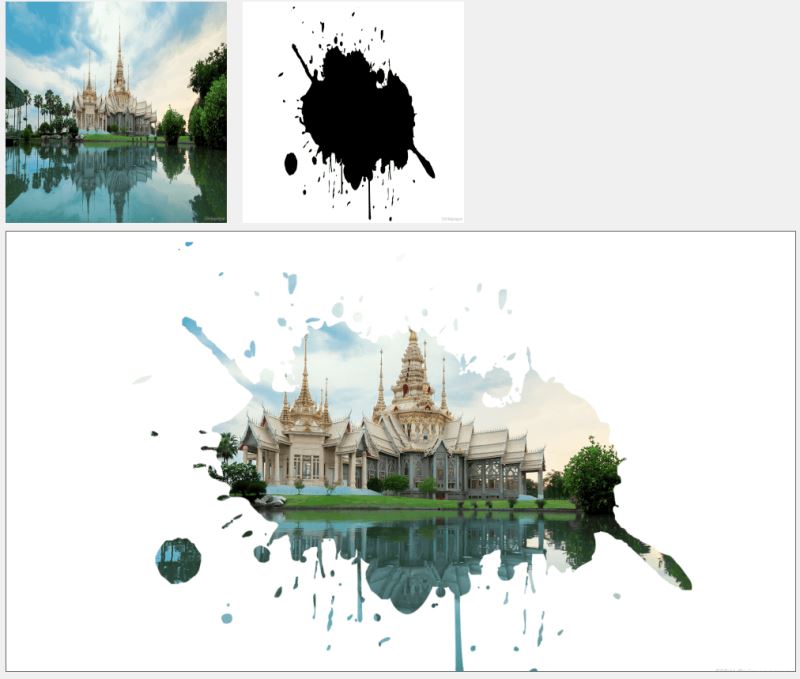
效果图
代码
1 2 3 4 5 6 7 8 9 10 11 12 13 14 15 16 17 18 19 20 21 22 23 24 25 26 27 28 29 30 31 32 33 | private unsafe void BlendImages1(Bitmap img1, Bitmap img2){ // 确定两个图像的重叠区域 Rectangle rect = new Rectangle(0, 0, Math.Min(img1.Width, img2.Width), Math.Min(img1.Height, img2.Height)); // 创建输出图像,尺寸为重叠区域大小 Bitmap blendedImage = new Bitmap(rect.Width, rect.Height, PixelFormat.Format32bppArgb); // Lock the bits of each image and get the BitmapData. BitmapData data1 = img1.LockBits(rect, ImageLockMode.ReadOnly, PixelFormat.Format32bppArgb); BitmapData data2 = img2.LockBits(rect, ImageLockMode.ReadOnly, PixelFormat.Format32bppArgb); BitmapData dataBlended = blendedImage.LockBits(rect, ImageLockMode.WriteOnly, PixelFormat.Format32bppArgb); int bytesPerPixel = 4; // For Format32bppArgb int stride1 = data1.Stride; int stride2 = data2.Stride; int strideBlended = dataBlended.Stride; byte* ptr1 = (byte*)data1.Scan0.ToPointer(); byte* ptr2 = (byte*)data2.Scan0.ToPointer(); byte* ptrBlended = (byte*)dataBlended.Scan0.ToPointer(); for (int y = 0; y > 8)); // B rowPtrBlended[pixelOffset + 1] = (byte)(255 - ((255 - rowPtr1[pixelOffset + 1]) * (255 - rowPtr2[pixelOffset + 1]) >> 8)); // G rowPtrBlended[pixelOffset + 2] = (byte)(255 - ((255 - rowPtr1[pixelOffset + 2]) * (255 - rowPtr2[pixelOffset + 2]) >> 8)); // R rowPtrBlended[pixelOffset + 3] = (byte)255; // A } } } // Unlock the bits of each image after processing. img1.UnlockBits(data1); img2.UnlockBits(data2); blendedImage.UnlockBits(dataBlended); // Display the blended image. pictureBoxResult.Image = blendedImage;} |
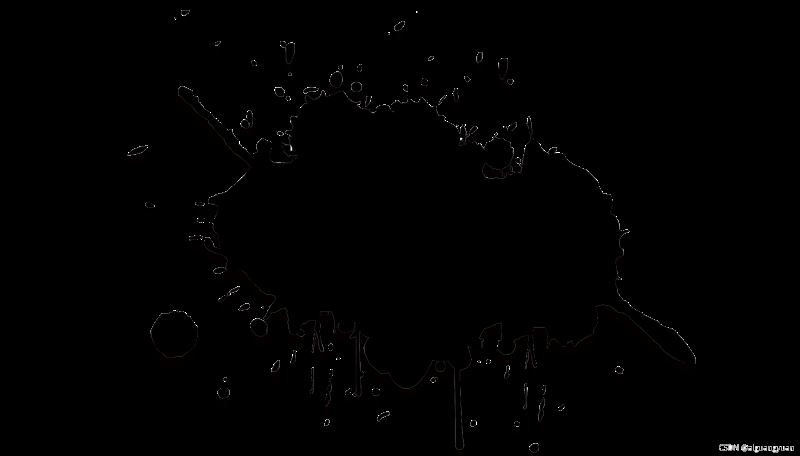
素材

到此这篇关于.net winform 实现CSS3.0 泼墨画效果的文章就介绍到这了,更多相关.net winform CSS3.0 泼墨画内容请搜索IT俱乐部以前的文章或继续浏览下面的相关文章希望大家以后多多支持IT俱乐部!

