
axios
什么是axios
Axios是专注于网络数据请求的库,相比于原生的XMLHttpRequest对象,axios简单易用。相比于Jquery,axios更加轻量化,只专注于网络数据请求。
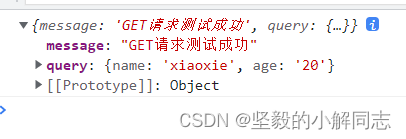
axios发起GET请求
axios发起get请求的语法:

代码
1 2 3 4 5 6 7 8 | <button id="btn1">发起get请求</button> document.querySelector('#btn1').addEventListener('click', function () { axios.get(url, { params: { name: 'xiaoxie', age: '20' } }).then(function (res) { console.log(res.data); }) }) |
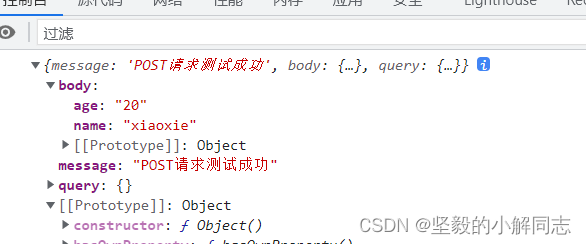
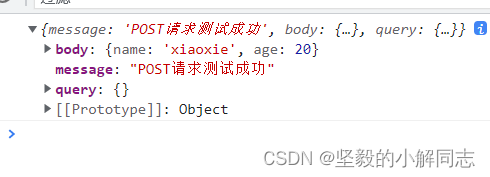
axios发起POST请求
axios发起post请求的语法

1 2 3 4 5 6 7 | <button id="btn2">发起post请求</button> document.querySelector('#btn2').addEventListener('click', function () { axios.post(url, { name: 'xiaoxie', age: '20' }).then(function (res) { console.log(res.data); }) }) |
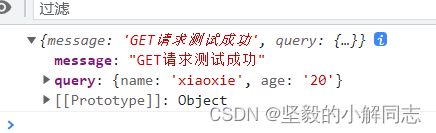
直接使用axios发起get请求
axios也提供了类似于Jquery中$.ajax()的函数,语法如下:
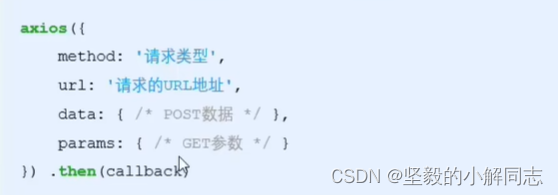
1 2 3 4 5 6 7 8 9 10 11 12 13 14 15 16 17 18 | <button id="btn3">发起ajax请求</button> document.getElementById('btn3').addEventListener('click', function () { let paramsData = { name: 'xiaoxie', age: 20 } axios({ method: 'get', url: url, params: paramsData, }).then( function (res) { console.log(res.data); } ) }) |
直接使用axios发起post请求
1 2 3 4 5 6 7 8 9 10 11 12 13 14 15 16 17 18 | <button id="btn4">发起ajax post请求</button> document.getElementById('btn4').addEventListener('click', function () { let paramsData = { name: 'xiaoxie', age: 20 } axios({ method: 'post', url: url, data: paramsData, }).then( function (res) { console.log(res.data); } ) }) |
到此这篇关于如何通过axios发起Ajax请求的文章就介绍到这了,更多相关axios发起Ajax请求内容请搜索IT俱乐部以前的文章或继续浏览下面的相关文章希望大家以后多多支持IT俱乐部!

