
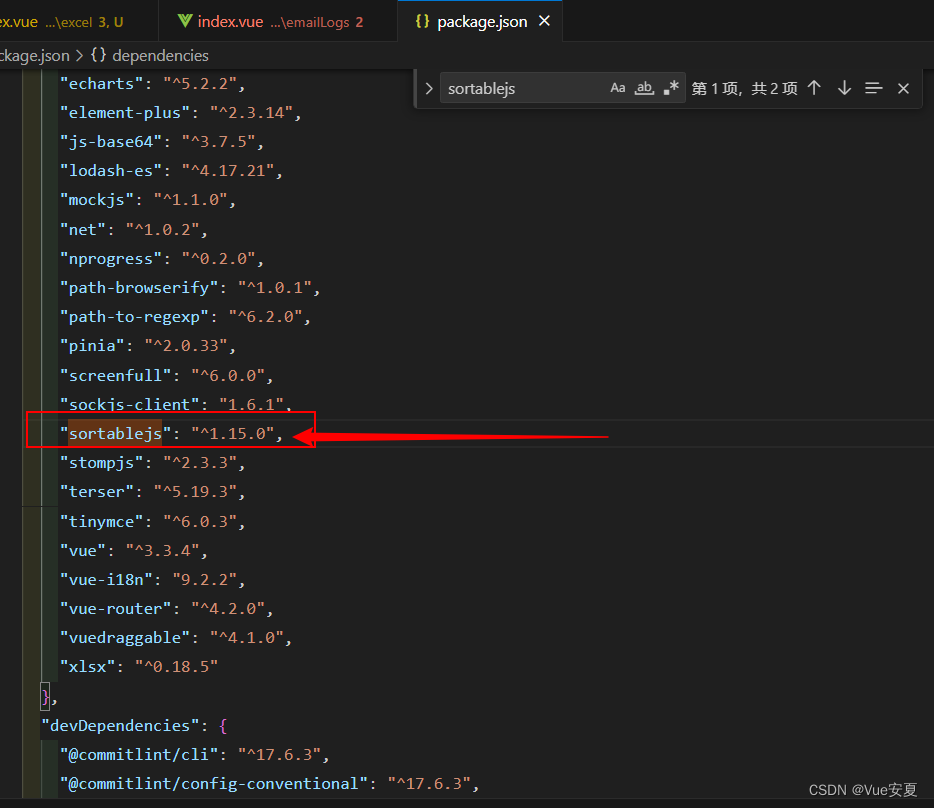
一: 安装sortablejs
1 | npm install sortablejs --save |
二: 页面使用
这里项目只需要一个地方用到,就没有封装成组件,直接在用到的.vue文件中写了。
在使用的 .Vue 文件中导入
1 | import { default as Sortable, SortableEvent } from "sortablejs"; |
看下图:
注意事项:el-table需要配置 row-key 且保持唯一性,不然会出现排序不对的情况

rowDrag方法:
1 2 3 4 5 6 7 8 9 10 11 12 13 14 15 16 17 18 | // 行拖拽const rowDrag = function () { // 要拖拽元素的父容器 const tbody = document.querySelector( ".draggable .el-table__body-wrapper tbody" ); if (!tbody) return; Sortable.create(tbody as HTMLElement, { // 可被拖拽的子元素 draggable: ".draggable .el-table__row", onEnd(event: SortableEvent) { if (event.oldIndex !== undefined && event.newIndex !== undefined) { const currRow = tableList.splice(event.oldIndex, 1)[0]; tableList.splice(event.newIndex, 0, currRow); } }, });}; |
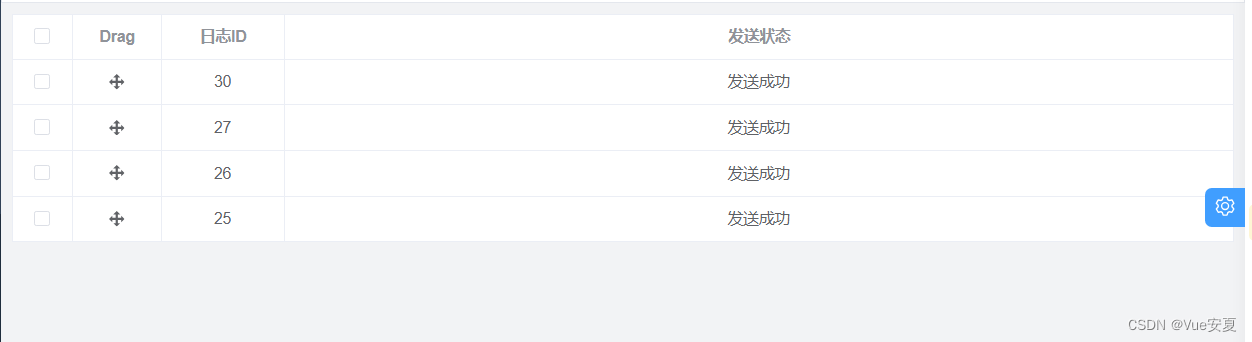
效果如下:
图标不能使用,自己可以更换了,这个无所谓啦。
三 : 下面是封装成组件使用
还不够完善,可以根据自己的需求进行修改。
dragTable 组件代码如下:
1 2 3 4 5 6 7 8 9 10 11 12 13 14 15 16 17 18 19 20 21 22 23 24 25 26 27 28 29 30 31 32 33 34 35 36 37 38 39 40 41 42 43 44 45 46 47 48 49 50 | <div class="t-table"> <p style="margin: 0;justify-content: center"> {{ item.label }} </p> </div>import { ref, watch, reactive, onMounted } from "vue";import { default as Sortable, SortableEvent } from "sortablejs";const props = defineProps();// 初始化数据const state = reactive({ tableData: props.table, tableHeaders: props.headers,});// 获取el-table refconst tables: any = ref(null);// 获取t-table refconst table_ref: any = ref(null);// 抛出事件 在 应用的.Vue 文件做相应的操作const emits = defineEmits(["rowSort"]);// 监听移动的 表格数据 重新赋值watch( () => props.table, (val) => { console.log("watch val", val); state.tableData = val; }, { deep: true });onMounted(() => { console.log("state.tableData >>>", state.tableData); console.log("state.tableHeaders >>>", state.tableHeaders); initSort();});// 行拖拽const initSort = () => { const el = table_ref.value.querySelector(".el-table__body-wrapper tbody"); // console.log('3333', el) Sortable.create(el, { animation: 150, // 动画 onEnd: (event: SortableEvent) => { if (event.oldIndex !== undefined && event.newIndex !== undefined) { const curRow = state.tableData.splice(event.oldIndex, 1)[0]; state.tableData.splice(event.newIndex, 0, curRow); emits("rowSort", state.tableData); } }, });}; |
在 .Vue 文件中的使用 及 页面父传子的数据
1. 导入组件
1 | import dragTable from "@/components/DragTable/index.vue"; |
2. 使用组件
1 |
3. 在 .Vue 文件里的数据及方法
列表数据就根据自己后端返回的数据直接传递就行。
表头数据如下:
1 2 3 4 5 6 7 8 9 10 11 12 13 14 15 16 17 18 19 20 21 22 23 24 25 26 27 28 29 30 | let initialHeaders = reactive([ { id: "1", property: "id", width: "88", label: "ID", show: true, }, { id: "2", property: "name", width: "121", label: "111", show: true, }, { id: "3", property: "thumb", width: "139", label: "222", show: true, }, { id: "4", property: "icon", width: "99", label: "333", show: true, },]); |
handleRowSort() 这个事件每次更改列表的排序就会触发,在使用组件的 .Vue 文件上就能进行一些相应的需求操作
1 2 3 | const handleRowSort = () => { console.log("应用的.Vue 文件做相应的操作");}; |
组件使用的效果图如下:
样式可以根据自己需求进行调整,这个小问题啦,功能实现就好。

总结
到此这篇关于Vue3+El-Plus实现表格行拖拽功能的文章就介绍到这了,更多相关Vue3+El-Plus表格行拖拽功能内容请搜索IT俱乐部以前的文章或继续浏览下面的相关文章希望大家以后多多支持IT俱乐部!

