使用vuedraggable和grid实现自定义拖拽布局
实现思路
使用vuedraggable实现拖拽功能,拖拽改变的是模块在list的顺序,使用gird设置动态类名,根据模块在list的位置匹配对应的gird样式。
效果图
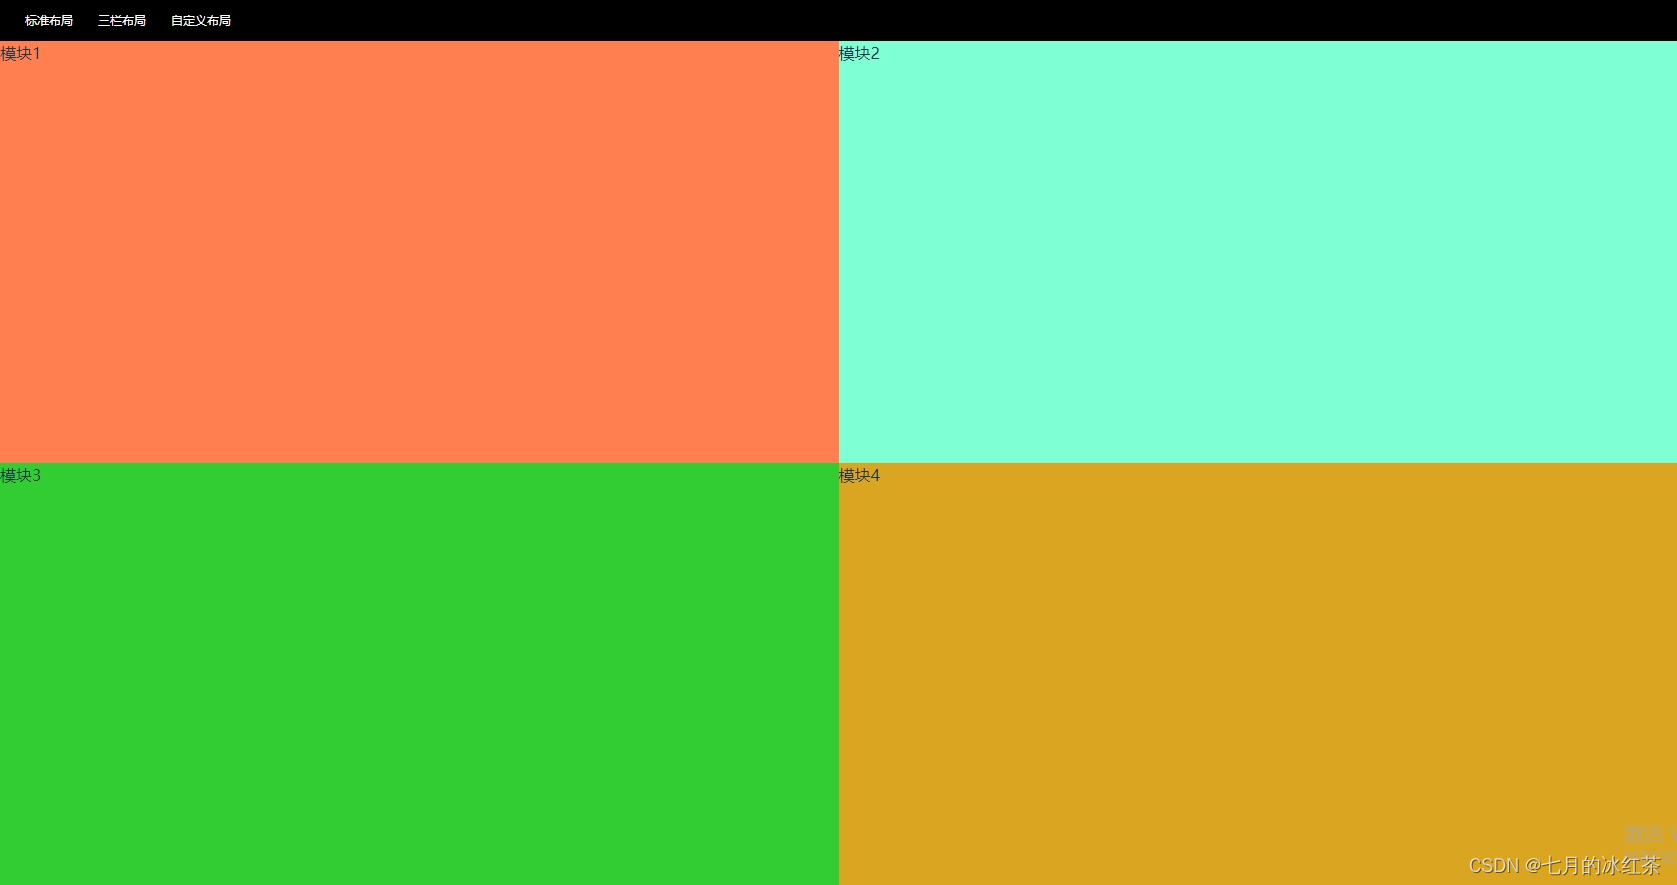
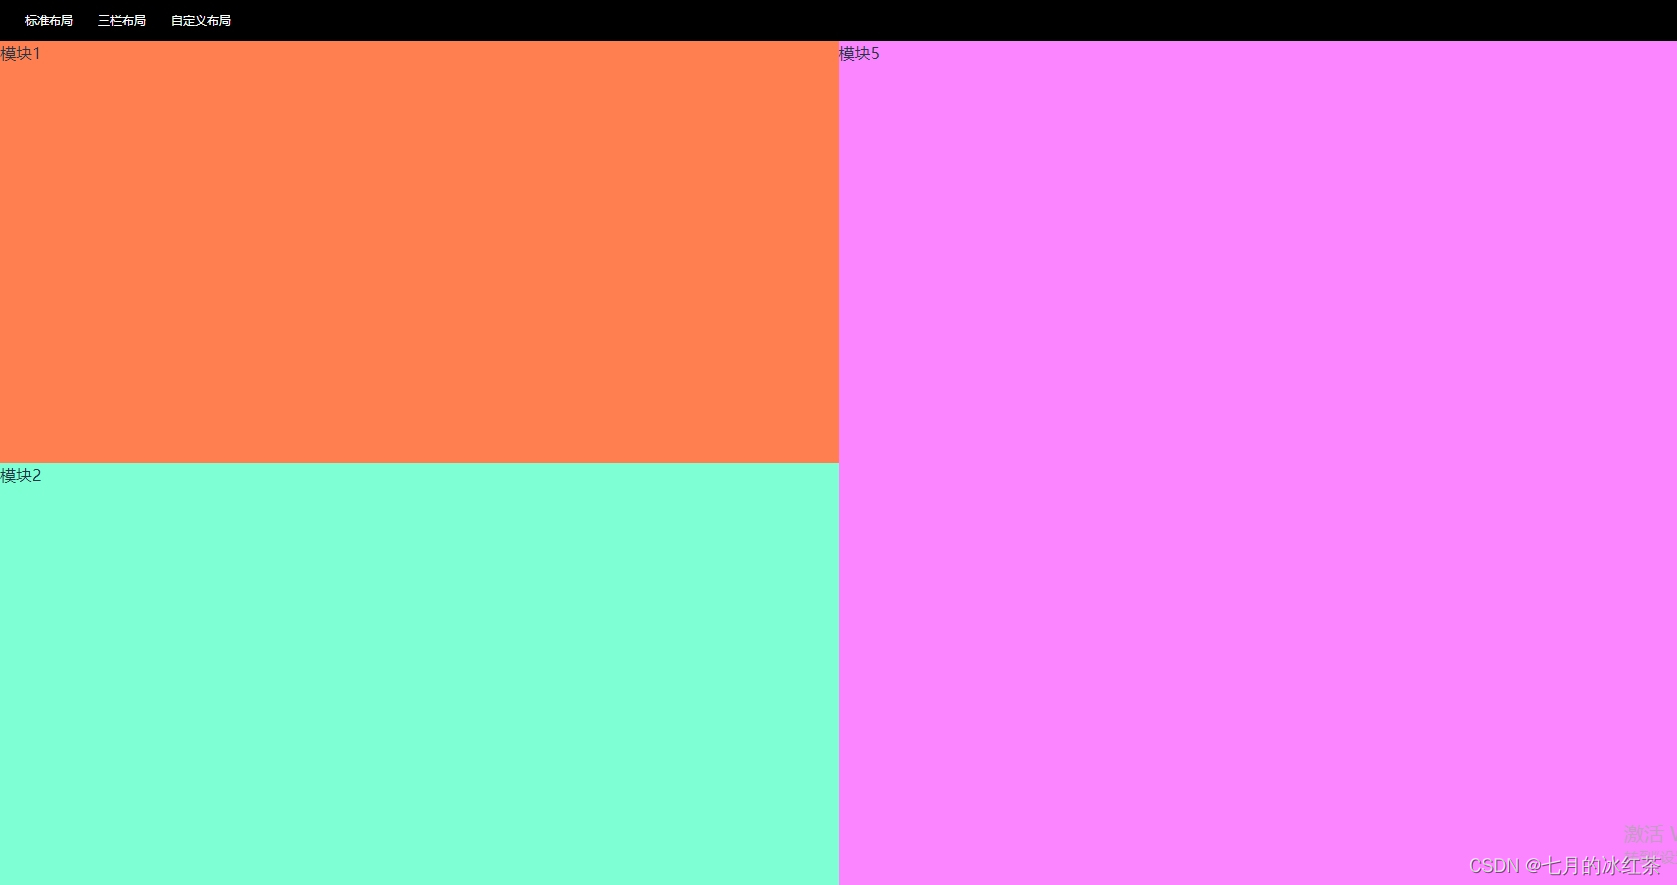
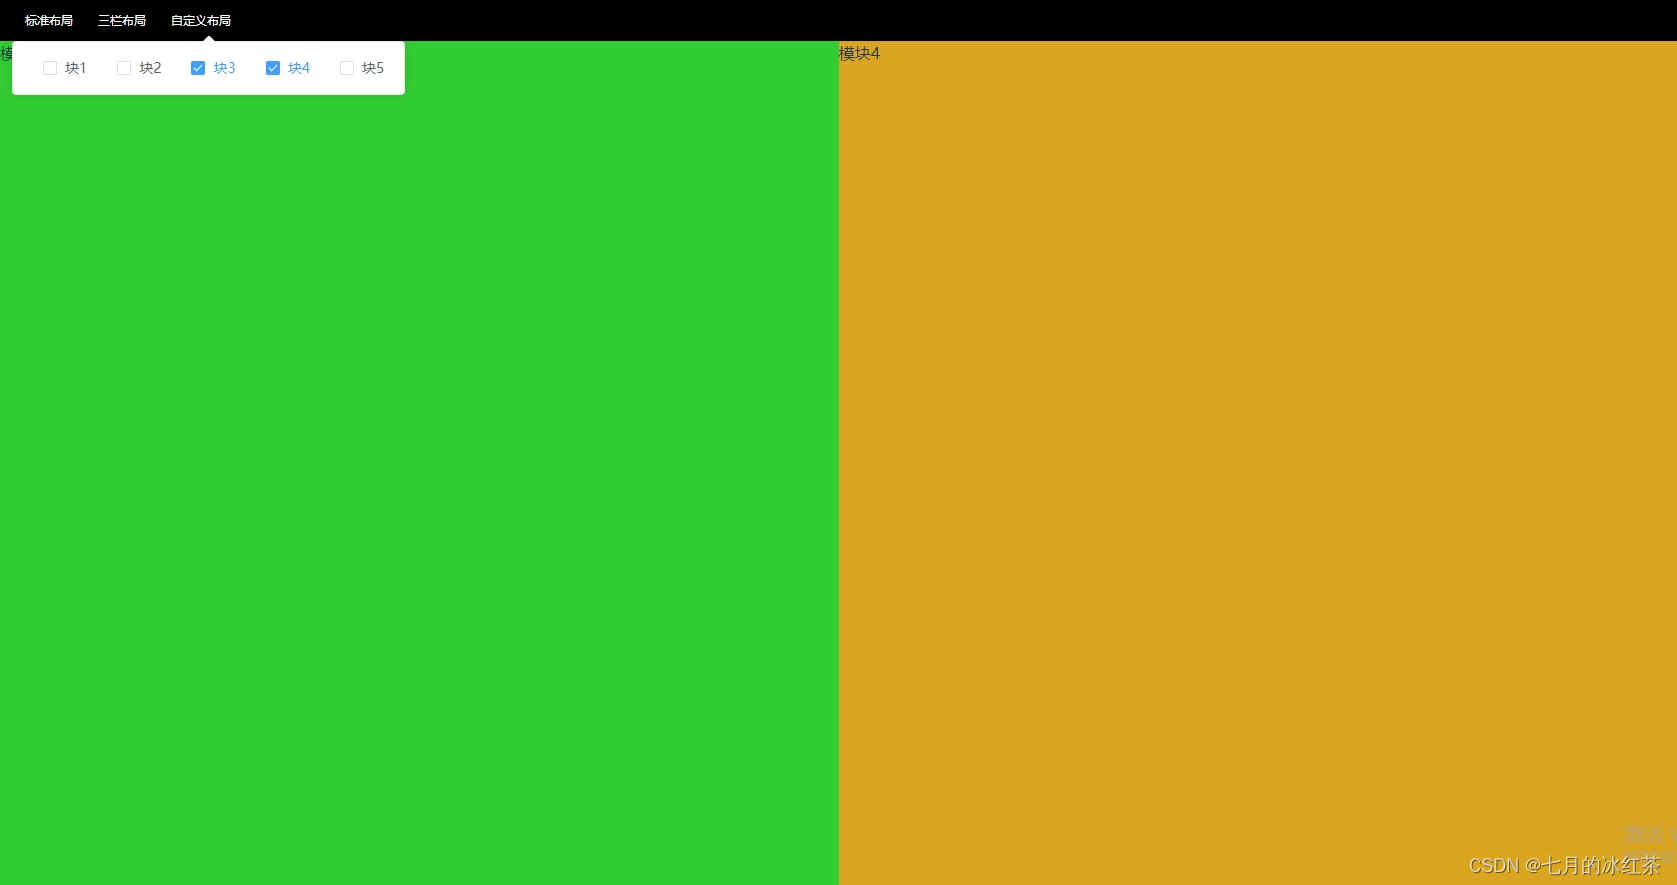
每个模块可以拖拽,不同数量和不同位置模块宽度和高度不同(注意:模块样式width:100%,height:100%)

图1-标准布局

图2-三块布局

图3-自定义布局
标准布局三块布局{ if (dropdown1) dropdown1.handleOpen(); }">{{ item.name }}自定义布局
import { ref, onMounted } from "vue";
import { useState, useMutations } from "@/utils/useStore";
import Block1 from '@/components/block1/block1';
import Block2 from '@/components/block2/block2';
import Block3 from '@/components/block3/block3';
import Block4 from '@/components/block4/block4';
import Block5 from '@/components/block5/block5.vue';

//@ts-ignore
import draggable from "vuedraggable";
import { LayoutType } from '@/utils/enum';

//资源对象
let resource = ref();
//@ts-ignore
const { moduleList } = useState(["moduleList"], "drag");
//@ts-ignore
const { setModuleList } = useMutations(["setModuleList"], "drag");

let dropdown1 = ref();
let checkedIdList = ref([]);//自定义选择的模块

let cList: any[] = [
  {
    type: '1',
    id: 1,
    name: '块1',
    component: Block1
  }, {
    type: '1',
    id: 2,
    name: '块2',
    component: Block2
  }, {
    type: '2',
    id: 3,
    name: '块3',
    component: Block3
  }, {
    type: '2',
    id: 4,
    name: '块4',
    component: Block4
  }, {
    type: '2',
    id: 5,
    name: '块5',
    component: Block5
  },
];

onMounted(() => {
  setCompontent([1, 2, 3, 4]);
})

// 自定义当前页包含组件
const setCompontent = (idList: number[]) => {
  checkedIdList.value = idList;
  let list = cList.filter((f: any) => {
    return idList.indexOf(f.id) != -1;
  });
  setModuleList(list);
  console.log("list", list);
};

// 切换布局
const changeLayout = (type) => {
  switch (type) {
    case LayoutType.THREE:
      setCompontent([1, 2, 5]);
      break;
    case LayoutType.DEFINE:
      if (checkedIdList.value) setCompontent(checkedIdList.value);
      break;
    default:
      // 默认四宫格
      setCompontent([1, 2, 3, 4]);
      break;
  }
}
.wrap {
  height: 100vh;
  width: 100vw;
  position: relative;
  display: block;
  overflow: hidden;

  .defineLayout {
    color: #fff;
    height: 41px;
    width: 100%;
    background-color: #000;
    align-items: center;
    padding: 0 20px;

    .name {
      font-size: 12px;
      font-weight: 500;
      color: #FFFFFF;
      line-height: 17px;
      margin-left: 5px;
      margin-right: 20px;
      cursor: pointer;
    }
  }

  .draggable-border {
    background-color: #fff;
    width: 100%;
    height: calc(100vh - 41px);
  }
}

// 设置拖拽组件的样式
.draggable-border>div {
  width: 100%;
  height: 100%;
  display: grid;
  grid:
    'one two'
    'three four';
  grid-template-columns: 50% 50%;
  grid-template-rows: 50% 50%;
}

.gird4col {
  grid:
    'one two'
    'three four' !important;
  grid-template-columns: 50% 50% !important;
  grid-template-rows: 50% 50% !important;
}

.gird3col {
  grid:
    'one three'
    'two three' !important;
  grid-template-columns: 50% 50% !important;
  grid-template-rows: 50% 50% !important;
}

.gird2col {
  grid:
    'one two'
    'one two' !important;
  grid-template-columns: 50% 50% !important;
  grid-template-rows: 50% 50% !important;
}

.gird1col {
  grid:
    'one' !important;
  grid-template-columns: 100% !important;
  grid-template-rows: 100% !important;
}

.fullscreen {
  width: 100vw;
  height: 100vh;
  position: fixed;
  top: 0;
  left: 0;
  z-index: 999;
}

.dragItem0 {
  grid-area: one;
}

.dragItem1 {
  grid-area: two;
}

.dragItem2 {
  grid-area: three;
}

.dragItem3 {
  grid-area: four;
}
总结
以上为个人经验,希望能给大家一个参考,也希望大家多多支持IT俱乐部。

